
The final thing I had to do to prepare my wedding dress for its debut at my class reunion was to pouf the overlayed black train. After cutting off the bottom of the pink part of the dress to make the halter top, I was left with yards of sheer fabric that fell to the ground, pooling around my ankles. I had spent some time speaking with my friend Penny about bustling the train (Penny was the Bustler of the Train at my wedding, even though the train wasn’t particularly designed to be bustled. That woman can work absolute magic with a piece of cloth and a safety pin.), but after listening to her advice and watching a couple of videos on YouTube, I realized that the fabric in question is too drapey to bustle properly. As I write this I just now realize that I could have tried to starch it, but it is far too late in the game to do that now. So I poufed.
First I pleated each side of the train. I did this in the same way that one would if she were making a bustle. Simple pleats up each side of the fabric with the key being that the pleats face up for maximum pouf. Crumbcatcher pleats, if you will.
Then I wasn’t sure whether to pleat the remainder of the train, or to gather it into traditional rousching. So I used one technique on each half of the train,pinning things in place without sewing it down permanently. After polling a couple of friends on which looked better, we came to the conclusion that because the fabric is so dark, the two techniques were equal in appearance. So I went with the easier technique: rousching it on the sewing machine.
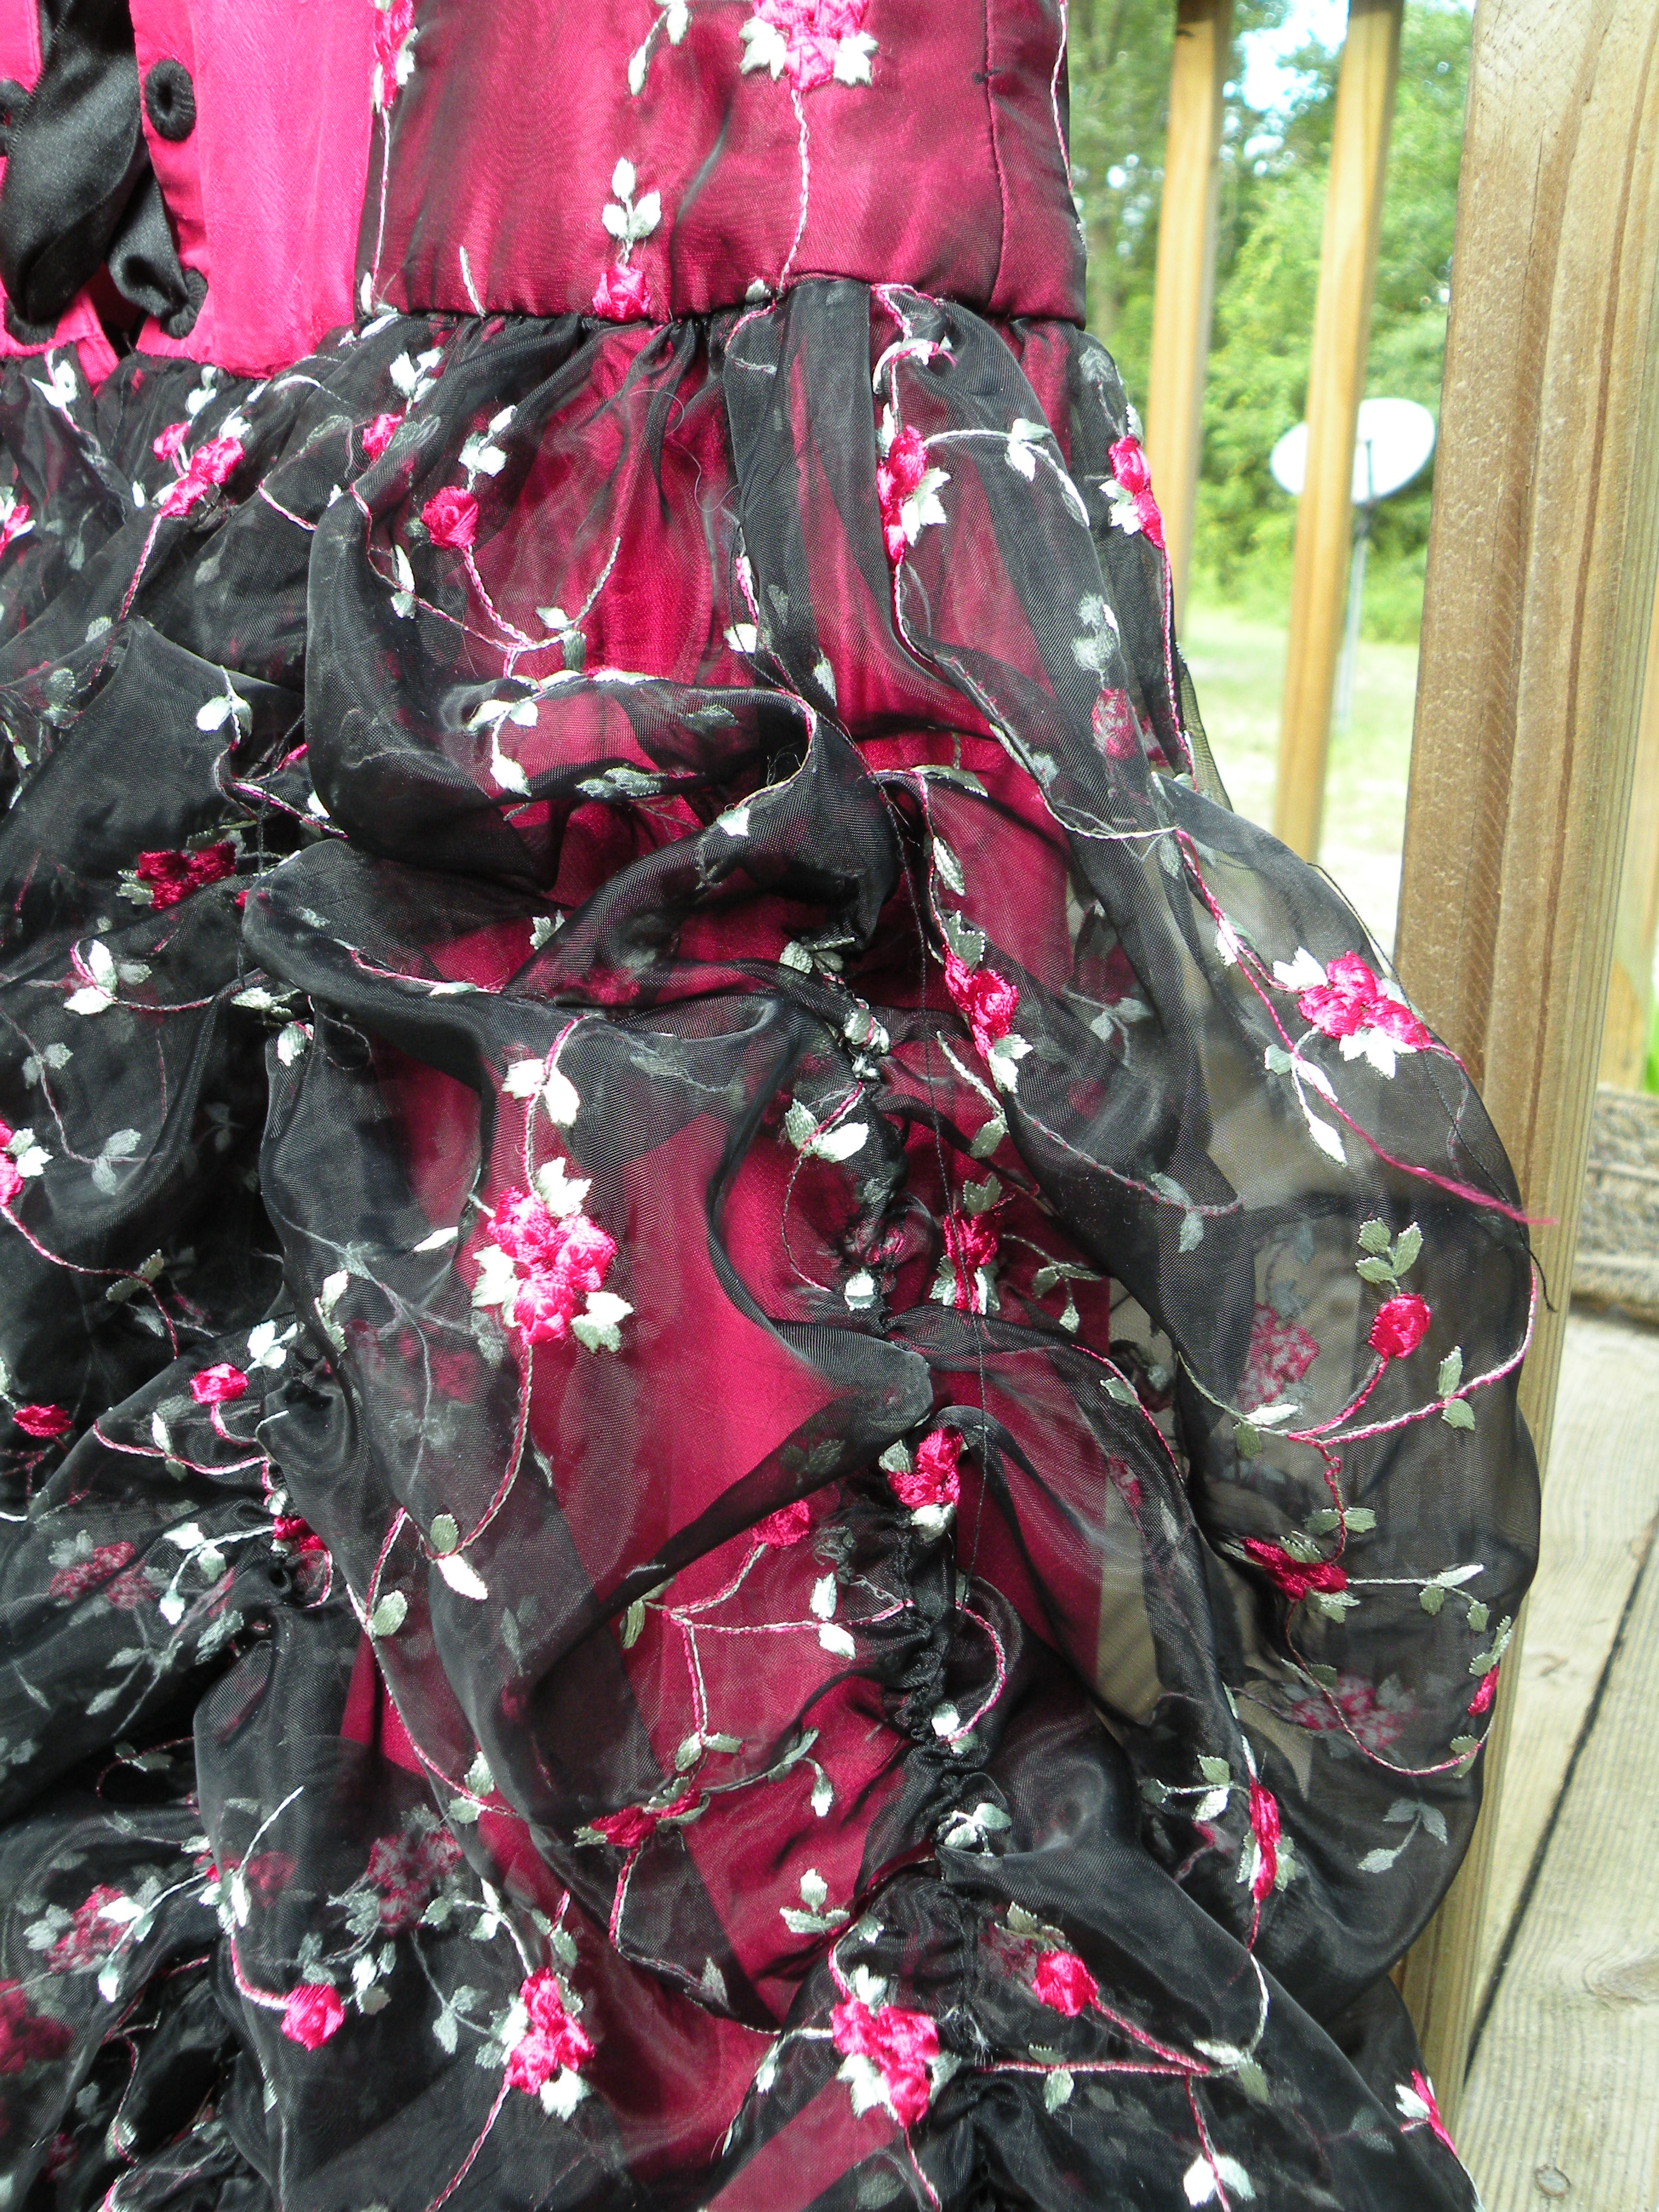
I simply sewed a few well placed lines of straight stitch with the longest stitch length, and scrunched up all of that fabric into one place. I tried my best to make it even around the dress, but it ended up a bit longer in the back. I’m pretty OK with that, and I can always tighten it up later if I choose, though I rarely go back to fine tune a project after I feel like I’ve completed it.
After that I cropped off the crenolin that I wore with my wedding dress and called it done! Look for pictures of the finished product this weekend!